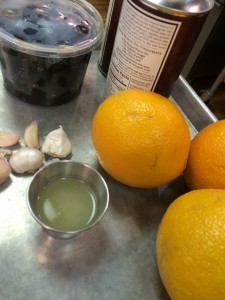
Last night I attended a cooking class at the University of Richmond’s Culinary Arts Center and spent a wonderful evening discovering the flavors of Morocco. I discovered the recipes were not only easy and quick but healthy and so delicious. New ingredients I will be using more include: orange blossom water (a little goes a long way), preserved lemons (only use the skin) and walnut oil (keep in the refrigerator).
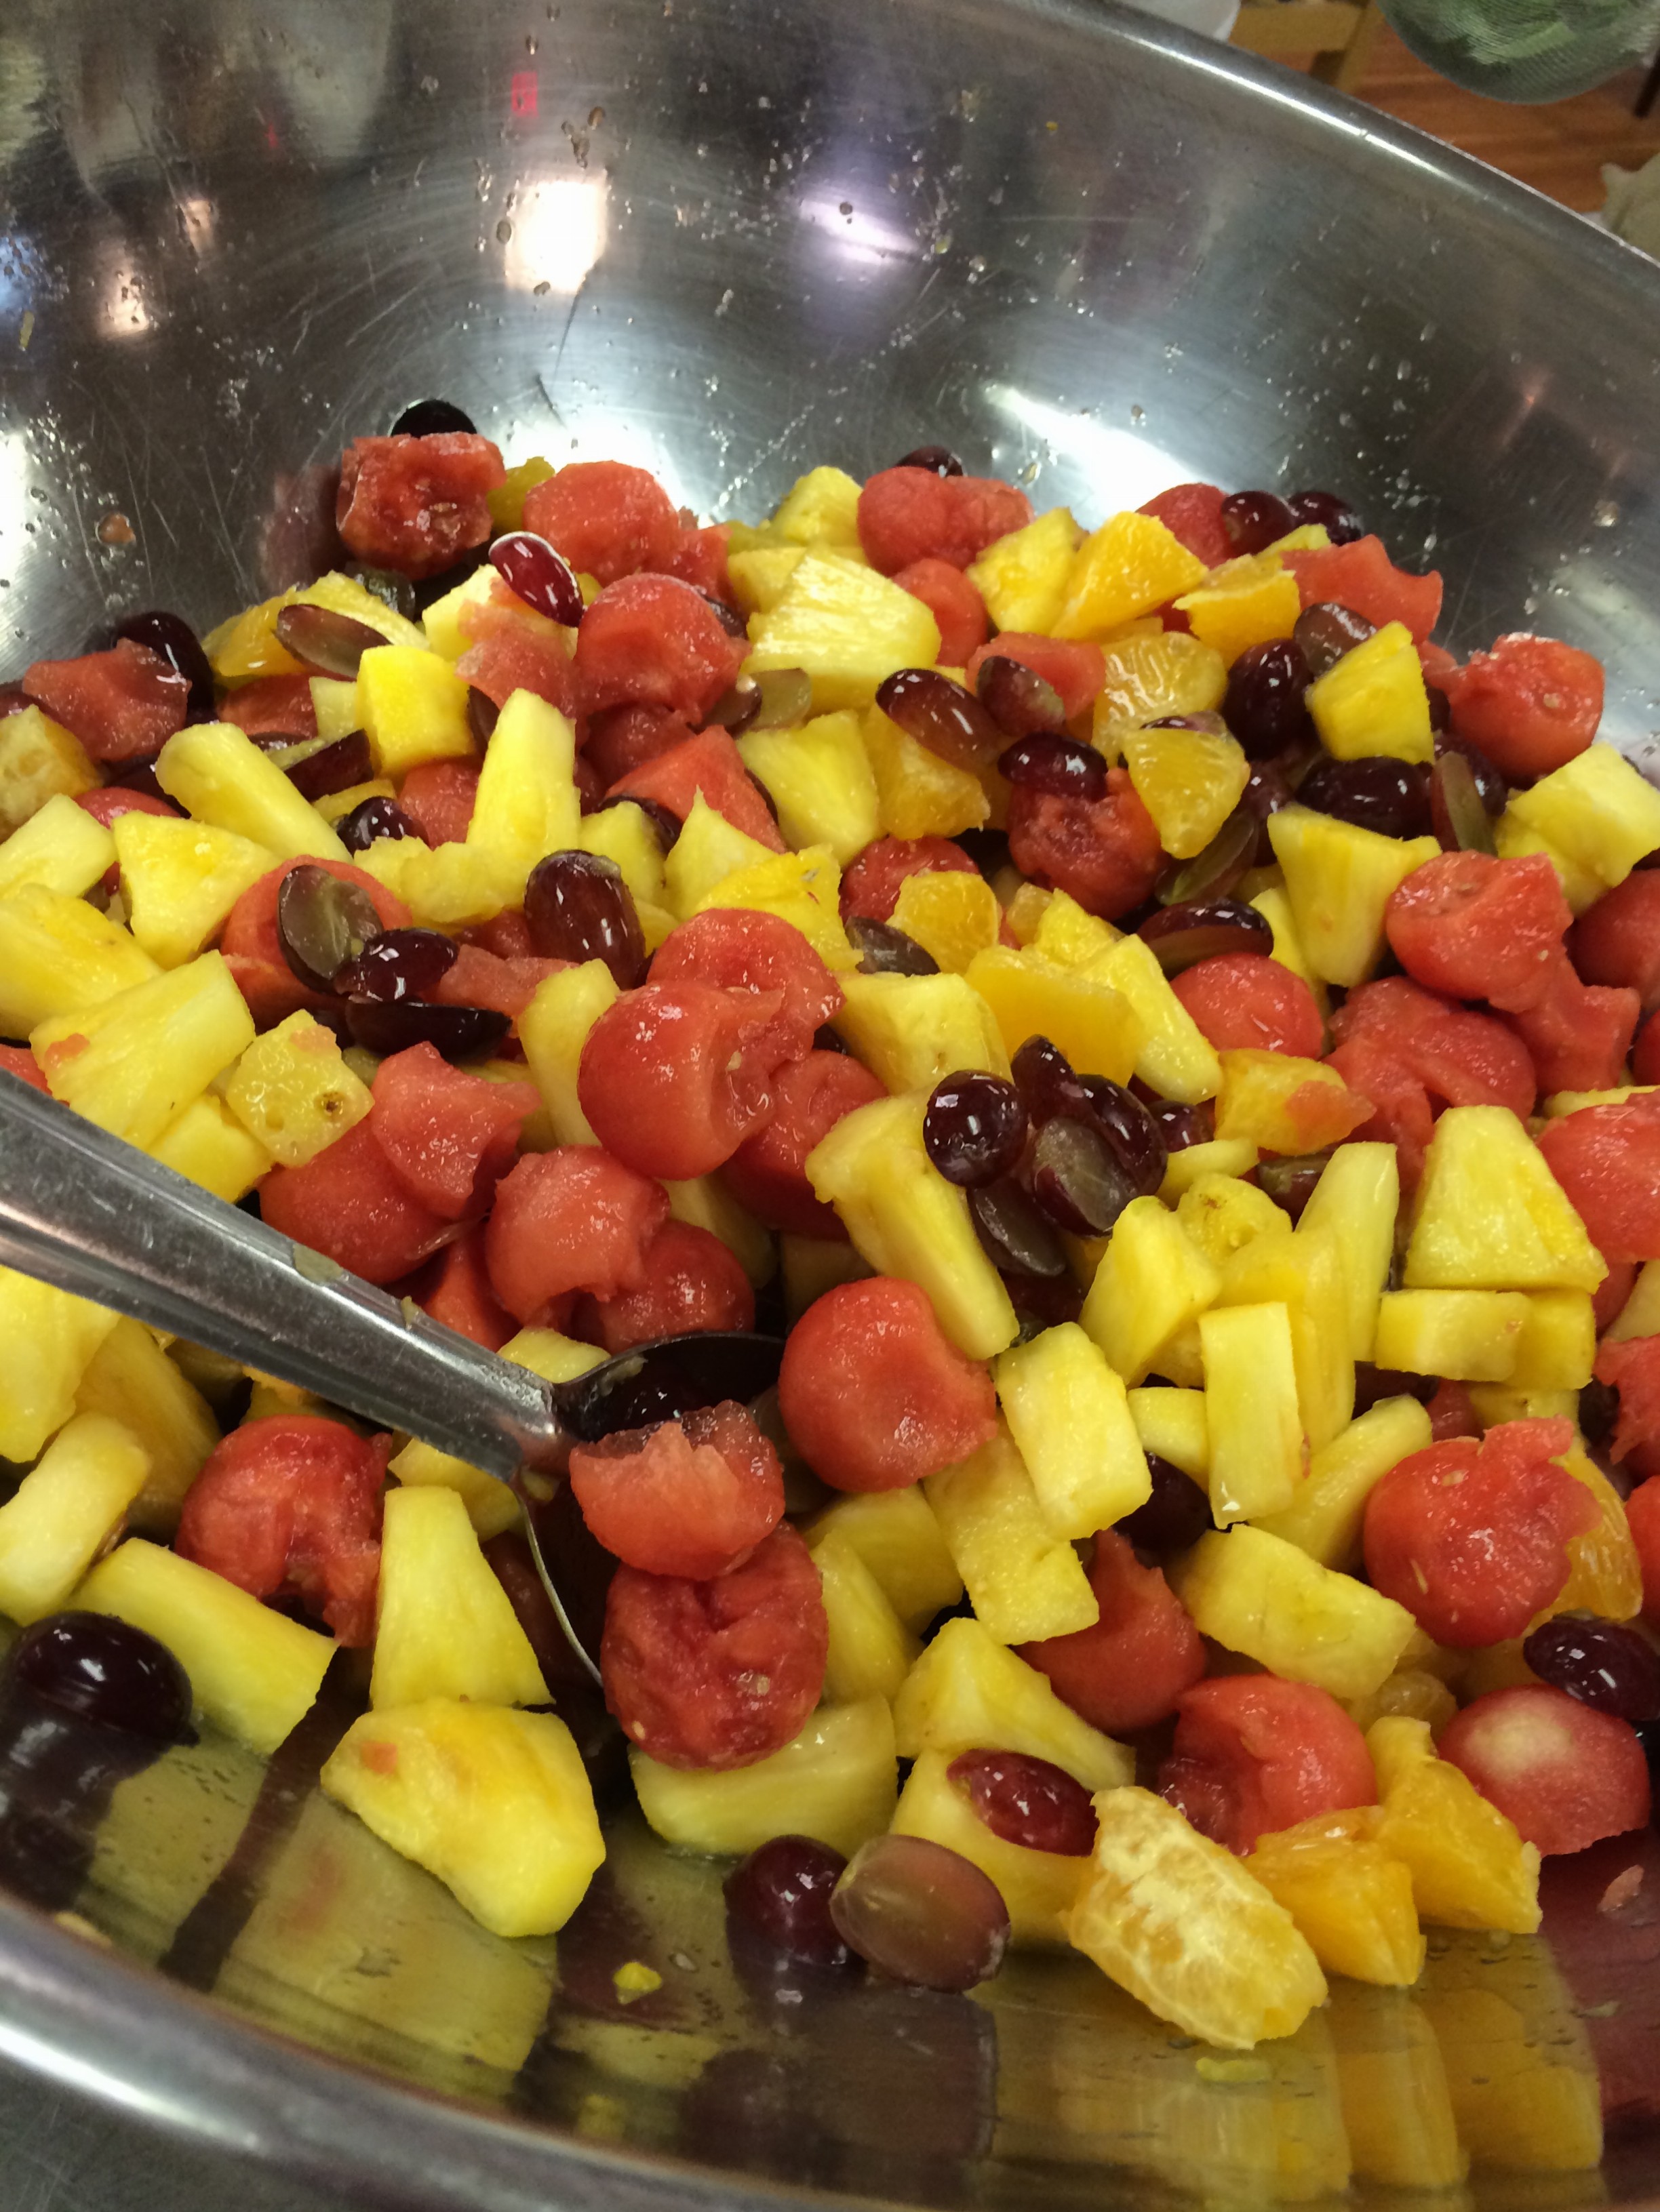
Mix orange blossom water with honey and orange juice in a large bowl. Cut fruit into bite sized pieces and toss in the honey, water, juice mixture. Sprinkle mint on top and serve.
When I need a creative outlet away from the computer I often turn to baking. It is a great way for me to let my right brain percolate and to allow the plot twists to work themselves out. The downside to this approach is that I end up with too many cookies to tempt and a kitchen that is a wreck. So I decided this time instead of reaching for the pots and pans, I’d sign up for an art class. I know nothing about art so I selected a mixed media class ‘open to all levels.’
The instant I received the supply list from the instructor, I knew I was out of my element. It took three craft stores, several hours and lots of questions before I’d assembled the basic supplies. I didn’t like not knowing what I was doing. I missed my cooking classes where I felt at home with the equipment, terms and techniques. But I reminded myself that this was about creativity and sometimes being creative means trying the unfamiliar.
So what did I learn?
Sketch Book. I didn’t realize how much artists preplan what they are going to create. Many keep a sketchbook that they hold close at hand. That book is where they can experiment and try different ideas without worrying about review or criticism. Reminded me a lot of the notebook (or scraps of paper) I carry around when a story is brewing. I am forever making notes, crossing out ideas, and most often reworking the concepts for greater depth and meaning. And just as our art teacher would not share her sketchbook with us, I would never share my notes and scribblings even after the book is finished.
Exercises. We started off class with a few art exercises. Kind of like warm up for the primary piece we would work on in the afternoon. This was our time to not only get used to the paints and papers but to figure out what appealed to us. These exercises were all about discovery. What colors did I like? What shapes resonated? Did I prefer pastels to ink? Reminded me a lot of free writing…those pages I write in the morning before tackling the day’s work. Free writing is my chance to experiment, to discover. Instead of paints and charcoals I’m dabbling with point of view, setting, character motivations, or literary devices, but the concept is exactly the same.
Failing. When I started writing years ago, I expected the words to flow perfectly. Of course they did not. And it wasn’t surprising that my first attempts in art class were dismal. I didn’t have the right paper, broke two sponge brushes in the first five minutes, and got paint in my hair. But with a little borrowed paper, more brushes and a promise to wash my hair, I kept working. After a while I got more and more comfortable with the techniques and images. Now I didn’t produce world-class art but I did get better over the course of the class. I was reminded of something I often say to would-be writers all the time when our art teacher said, “Failings are lessons.” You can’t let failures stop you.
The day ended up being great fun. I not only came away with a few pieces of art and the desire to try again, but with a few more plot twists and turns for the latest book.
I’m a firm believer in dedicated office space, my number one booster of creative thinking.
I started off writing on a card table in an empty living room. The table wasn’t fancy and the computer was really not fancy–a 286 that took five and a quarter inch discs. (I know dating myself.) But it was my dedicated space where I could go when I had a spare moment either during my kids’ naptimes or very early in the morning.
Somewhere along the way I bought some used furniture and a better computer. I can still remember the day I graduated from the card table to the real desk. It was a good day.
These days, those napping babies have gone to college. I’m still working in the same living room space with the same used furniture, but I’ve also cleaned out my tool shed and set up shelving to hold all my books. There’s even a spare desk out there so I have place to work when the kids return and the house gets delightfully loud and crazy again.
In my office with my dog Bella. Note it's only this clean during the few days following a deadline.
I went up in my attic a few weeks ago and discovered I’m overrun with back issues of old books. It’s amazing what’s accumulated over the last decade: eight Harlequin Historicals, four Intimate Moments, three Zebra single title romantic suspenses and four anthologies. They take up quite a bit of space when you consider I have between twenty and fifty copies of each book plus a good many foreign editions.
The avid record keeper in me wanted some kind of system that chronicled all the work. I considered framing the covers but that promised to really clutter up the walls. And then a friend, who represents Creative Memories, suggested I scrapbook the covers. Its something I’ve never done before but I’ve got to say one Book containing all the covers really appealed.
So in the last few weeks I’ve pulled all the boxes out of the attic, sorted through all the domestic and foreign editions, donated the excess copies, and arranged all into chronological order. I never realized scrapbooking could be so physical!
I make no claims that my efforts will be any great work of art, but hopefully, I’ll have THE BOOK done by the time I go to the Romantic Times conference at the end of April. So, if you’re at RT, I’ll have THE BOOK at the Saturday signing for all to see.
I joined up with my friend Ann this past weekend to bake cookies with a group of kids from lower-income homes.While holiday tunes played, we rolled out, cut, iced and tossed sprinkles on Sugar, Moravian, and Gingerbread cookies. After our three-hour bake-a-thon the floors were covered with sprinkles, I was wearing a good bit of flour and platters were piled high with an array of glittering cookies that filled our little bakers with pride.The whole experience was great fun!
In celebration of Fat Tuesday I decided to make a King Cake.Turns out the cake isn’t so much a cake as a bread, but that doesn’t stand in the way of the dessert being delicious.Here’s my version of King Cake.
Dough
Into the bread maker put:
3 cups flour
1/3 cup sugar
1 teaspoon of salt
1 egg
One cup milk less a tablespoon
¼ cup melted butter
2-1/2 teaspoons of active dry yeast (which goes in your bread maker’s yeast dispenser)
When the dough is ready, roll it out into a long thing rectangle and then fill with:
Filling
¼ cup softened butter
¾ cup brown sugar.
Mix butter and sugar into a paste and then spread on the dough.Roll the dough up jellyroll fashion and then shape into a large circle.
Bake the King Cake for 15-18 minutes in a 350-degree oven.Ice with your favorite vanilla icing.My favorite go-to icing includes:
Icing
¼ cup softened cream cheese
¼ cup of softened butter
1-1/2 cups of confectioner’s sugar
Milk as needed (about a 1/2 cup)
Whisk cream cheese and butter together and then alternately add confectioner’s sugar and milk. I mix in just enough milk to make the icing easy to pour but not runny.
Decorate with yellow, green and blue colored sugars!